To hang art on a concrete wall, you’ll need a power drill with a masonry bit, concrete anchors, and a level. Start by cleaning the wall and marking where your artwork will go. Use the drill to create holes for the anchors and verify they’re flush with the wall. Then, attach your hanging hardware to the art piece and secure it onto the wall. Make certain to position your artwork at eye level for the best viewing experience. After hanging, check for stability and a perfect straight alignment. There’s more to take into account for a flawless finish ahead!
Key Takeaways
- Use a power drill with masonry bits to create holes for concrete anchors or wall plugs suitable for the weight of your artwork.
- Clean and prepare the wall by filling cracks and sanding rough textures for secure hanging.
- Measure and mark the desired placement accurately, ensuring artwork will be hung at eye level.
- Insert heavy-duty wall anchors or masonry screws to ensure stability when hanging the artwork.
- Regularly check the stability of the hung artwork and maintain it by dusting and addressing any moisture issues.
Tools You Will Need
To hang art on a concrete wall, you’ll need a few essential tools to make the process smooth and effective.
First, grab a power drill equipped with a masonry bit. This’ll help you create the necessary holes in the tough concrete surface. Next, pick up some concrete anchors or wall plugs. These are vital for securing your art without risking damage to the wall or your piece.
You’ll also want a level to guarantee your artwork hangs straight. It’s frustrating to step back and find your piece tilted, so make sure to use this tool as you work. A measuring tape will help you determine the perfect placement, guaranteeing your art is centered and at the right height.
Lastly, don’t forget a hammer and a screwdriver, as they’ll assist in securing the anchors and hanging hardware. With these tools in hand, you’re well-equipped to tackle the project.
Keep everything organized, and take your time to make sure each step is done correctly. Soon enough, you’ll have a beautifully displayed piece of art that enhances your concrete wall!
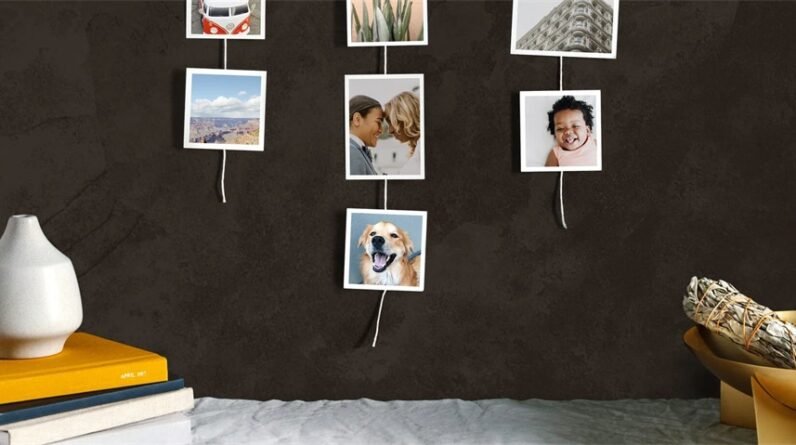
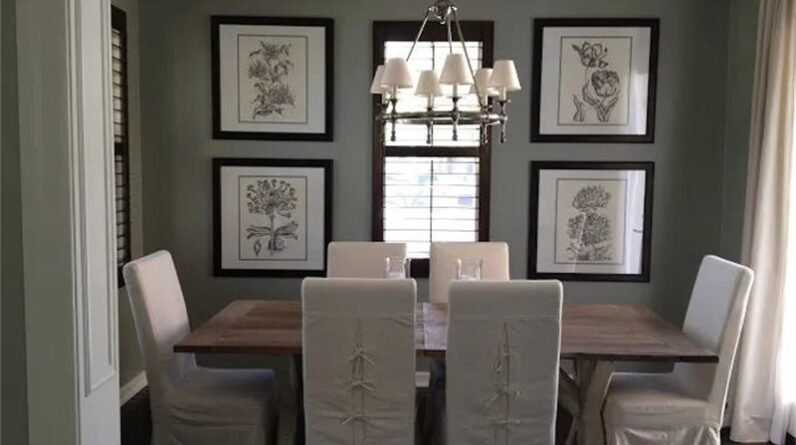
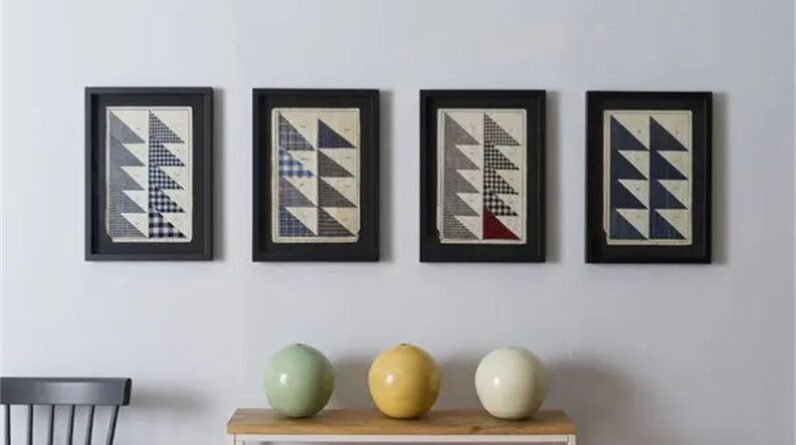
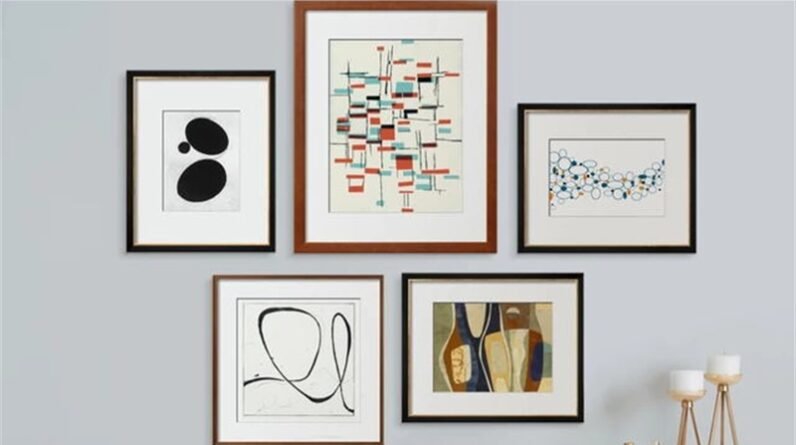
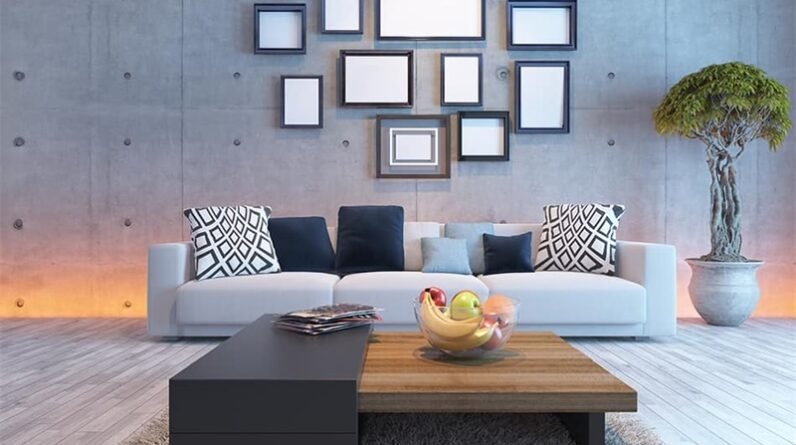
Choosing the Right Art
Selecting the right art for your concrete wall can greatly enhance the overall aesthetic of your space.
Start by reflecting on the size of your wall and the scale of the artwork. Large pieces can make a bold statement, while smaller works might get lost in the vastness. Aim for a balanced composition that complements your existing decor.
Next, think about the style that resonates with you. Whether you prefer modern abstracts, classic landscapes, or vibrant photography, your choice should reflect your personality and interests. Don’t shy away from mixing styles; a gallery wall with various pieces can create a dynamic look.
Color is another significant factor. If your concrete wall is a neutral tone, you might want to choose artwork that adds splashes of color. Alternatively, if your wall is painted in a bold hue, contemplate art with softer tones to create a pleasing contrast.
Lastly, don’t forget to reflect on the mood you want to evoke. Calming scenes can transform a space into a serene retreat, while energetic pieces can inspire creativity. Trust your instincts, and remember that the best art is one that speaks to you.

Preparing the Wall
Once you’ve chosen the perfect art for your concrete wall, it’s important to prepare the surface to ascertain a secure and lasting display.
Start by cleaning the wall thoroughly. Use a damp cloth to remove any dust, dirt, or grease buildup. This helps the adhesive or hardware you’ll use stick better.
Next, inspect the wall for any cracks or imperfections. If you discover any, fill them with a suitable filler or patching compound. Make sure it’s completely dry before moving on. A smooth surface will ascertain the artwork hangs evenly and securely.
If your concrete wall has a rough texture, consider lightly sanding it in the areas where you’ll attach your art. This creates a better grip for the hanging hardware. After sanding, wipe the area again to remove any dust particles.
Lastly, if you’re using adhesive or a specific type of hardware, check the manufacturer’s recommendations for any additional preparation steps. These small details can make a significant difference in how well your art stays in place.
With the wall prepared, you’re ready for the next steps in hanging your artwork securely.
Marking the Placement
Carefully mark the desired placement of your artwork on the concrete wall using a pencil or painter’s tape to guarantee accurate positioning before you start drilling or applying adhesive.
Start by holding the artwork against the wall and stepping back to assess its visual balance. Consider how the piece interacts with surrounding elements and the overall room’s aesthetic.
Once you’re satisfied with the height and position, use a pencil to lightly outline the corners of your artwork. If you’re using painter’s tape, stick it to the wall in the shape of your piece, ensuring it’s level and straight. A level tool can help you achieve this, preventing any crooked installations.
Take a moment to double-check your markings. Walk away and return to see if everything looks right from different angles. This step is essential as it allows you to visualize the final look without making any irreversible changes to the wall.
Once you’re confident in the placement, you’re ready to move on to the next steps of mounting your artwork securely. Remember, precise marking sets the foundation for a successful installation.
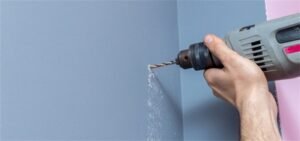
Drilling Into Concrete
To securely mount your artwork, you’ll need to drill into the concrete wall at the marked locations. Start by gathering your tools: a hammer drill, masonry drill bits, and safety goggles. Make certain you’re wearing the goggles to protect your eyes from dust and debris.
Position the drill bit at the marked spot, applying gentle pressure to keep it steady. Begin drilling at a low speed to create a small indent, then gradually increase the speed as the bit penetrates the concrete. Keep the drill bit straight to make sure a clean hole; tilting can cause damage or unevenness.
Drill to the depth specified for your hardware—usually about an inch deeper than the anchor you’ll be using. If you feel resistance, pull the drill out slightly to clear any dust or debris, and then continue drilling.
Once you’ve drilled the necessary holes, vacuum the dust from the area to prepare for the next steps. This guarantees a secure fit for whatever hardware you choose to use. With patience and precision, you’ll have the holes ready to support your beautiful artwork!
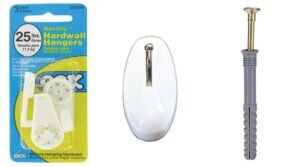
Selecting the Right Hardware
Choosing the right hardware is crucial for securely hanging art on a concrete wall and ensuring it stays in place for years to come.
Start by considering the weight of your artwork, as this will dictate the type of hardware you need. For lightweight pieces, toggle bolts or wall anchors can work well. However, for heavier art, you’ll want to use masonry screws or heavy-duty anchors designed specifically for concrete.
Next, look for hardware made from durable materials like steel or zinc-coated metals, which resist rust and corrosion. This consideration is significant, especially if your concrete wall is in a damp area.
Don’t forget to account for the style of your artwork when selecting hardware. Choose hooks or brackets that complement the piece and your overall decor.

Hanging the Artwork
With the right hardware in hand, you can now confidently hang your artwork on the concrete wall.
Start by determining the ideal height for your piece. Generally, aim for eye level, which is around 57 to 60 inches from the floor. Use a tape measure to mark this height on the wall.
Next, hold the artwork against the wall to see how it looks. Once you’re satisfied with the positioning, use a pencil to lightly mark the top corners of the frame. If your piece has a hanging mechanism, measure the distance from the top of the frame to the hook or wire. Transfer this measurement down to your marks, and make additional marks for drilling.
Now, it’s time to drill holes for your anchors. Use a hammer drill to create the holes at your marked points. Insert your anchors, ensuring they’re flush with the wall, then screw in the mounting hardware.

Ensuring Proper Stability
Guaranteeing your artwork remains securely in place is essential for both safety and aesthetics. When hanging art on a concrete wall, you need to select the right hardware to provide the stability your pieces require. Use heavy-duty wall anchors or masonry screws designed specifically for concrete. Regular nails or standard hooks won’t cut it; they might bend or pull out under the weight of your artwork.
Before you start drilling, make sure to locate the ideal spot for your art. Use a level to guarantee it’s straight, and mark the location where you’ll drill. When installing anchors, drill the appropriate size hole according to the manufacturer’s instructions. This will create a snug fit, preventing the hardware from loosening over time.
After securing the anchors, attach your artwork using the appropriate hanging method—whether that’s D-rings, picture wire, or a French cleat. Always double-check for stability once it’s hung; give it a gentle tug to verify everything’s secure.
Taking these steps will help you avoid any unfortunate falls, keeping both your artwork and your space safe and visually appealing.
Maintenance and Care Tips
After hanging your artwork securely, maintaining its appearance and condition is key to ensuring it remains a focal point in your space.
Start by regularly dusting your art with a soft, dry cloth. Avoid using any harsh chemicals that could damage the finish. If you notice any signs of moisture or mold, act quickly by wiping the affected area with a damp cloth and allowing it to dry completely.
For framed pieces, check the frame’s condition periodically. Make sure the glass is clean and free from smudges, using a glass cleaner that’s safe for artwork. If you have artwork that’s particularly valuable or sensitive, consider using UV-protective glass to shield it from sunlight.
If you hang your art in a high-traffic area, be mindful of potential impacts. Rearrange furniture or add protective barriers if necessary.
Frequently Asked Questions
Can I Use Adhesive Hooks on Concrete Walls?
Yes, you can use adhesive hooks on concrete walls, but their effectiveness depends on the hook’s weight limit and the wall’s surface texture. Make sure to clean the area thoroughly for better adhesion.
How Do I Remove Art Without Damaging the Wall?
To remove art without damaging the wall, gently peel it away, using a hairdryer to soften any adhesive. If needed, apply a little heat and slowly lift it off, ensuring you don’t pull paint or plaster.
What Types of Art Are Suitable for Outdoor Concrete Walls?
For outdoor concrete walls, consider weather-resistant materials like metal, acrylic, or treated wood. You’ll want vibrant colors or bold designs that withstand the elements, enhancing your space while showcasing your personal style effectively.
Is There a Weight Limit for Artwork on Concrete?
There isn’t a strict weight limit for artwork on concrete, but you should consider the mounting hardware and wall integrity. Heavier pieces require sturdier anchors, so always guarantee everything’s secure to prevent accidents.
Can I Hang Art in a Basement With Moisture Issues?
You can hang art in a basement with moisture issues, but it’s essential to choose moisture-resistant materials. Use protective coatings or frames, and consider ventilation to minimize humidity and protect your artwork over time.
Conclusion
Now you’re ready to hang your art on that concrete wall!
By following these steps, you can create a stunning display that enhances your space.
Just remember to choose the right hardware and make sure everything’s secure for maximum stability.
With a little care and maintenance, your artwork will shine for years to come.
So go ahead, transform your walls and let your creativity flourish!
Happy decorating!