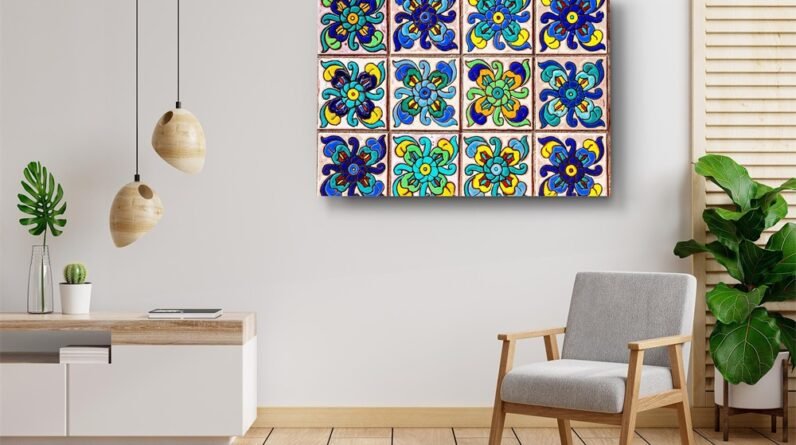
Adding art to your home is a great way to personalize it and make it feel more like your own. If you’re looking for an interesting, unique way to add some flair to your walls, tile art could be just the thing. Hanging tile art can seem intimidating at first, but with the right preparation and tools, it’s actually quite simple.

Prepare Your Tile Art for Hanging
Once you have gathered all your materials and prepared the wall, it’s time to prepare the tile art for hanging.
- Begin by laying out your tiles in the desired design on a flat surface such as a table or floor. Make sure that all edges are lined up evenly and that there are no gaps between pieces.
- Then, take measurements of the finished product so you know how large each tile needs to be cut if necessary.
- The next step is to attach an adhesive to the back of each tile. This will hold them together and make them easier to hang without slipping or shifting in place. Depending on what type of adhesive you use, it may require time for drying before moving onto the next steps.
- Lastly, determine where you’d like to hang your tile art and mark off its position on the wall using painter’s tape or another marker so it is easy to install correctly when ready.
Choose the Right Location
When choosing the right location to hang tile art, it is important to ensure that the wall is strong enough to support the weight of both the tile art and the mounting hardware. To do this, take a hammer and lightly tap on different areas of the wall. If there is any hollow sound or if you can feel your finger move when touching behind the wall, it probably will not be suitable for hanging tile art. Additionally, check that there are no electrical wiring or plumbing pipes running behind where you plan to hang your tile art as drilling could cause serious damage.
If possible, choose an area near natural light sources such as windows or skylights for optimal viewing pleasure. Even if natural light does not reach your desired spot on the wall directly, having indirect sunlight from nearby windows can still add to its charm and vibrancy.
Lastly, consider how far away from eye level you would like your piece of art to be in order for it to have a more dramatic effect in rooms with high ceilings or multiple floor levels. Having an appropriate distance between yourself and your artwork can make all of difference when displaying a piece in any room.

Hanging the Tile Art
Tile art can be hung on a wall in several different ways. The most common way is to use adhesive tile hangers, which come in various shapes and sizes, designed to fit the specific dimensions of the tile being hung. Once the hanger is attached, it should be secured firmly with screws driven into wall studs or anchors if no studs are available. When affixing tile art directly to the wall without a frame or other covering, it’s important to make sure that any grout lines between tiles are adequately filled and sealed so as not to compromise their durability over time.
Additionally, a thin strip of foam weatherstripping can be applied around each tile before mounting it to ensure any gaps are minimized and moisture doesn’t seep in behind them.
Finally, another option for hanging tile art is by using steel wire strung through holes drilled near the top edge of each piece; this method allows for easy adjustment of height and angle when desired.
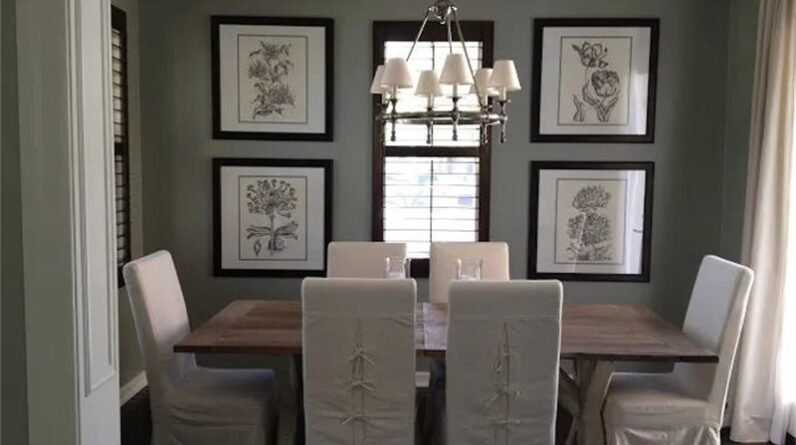
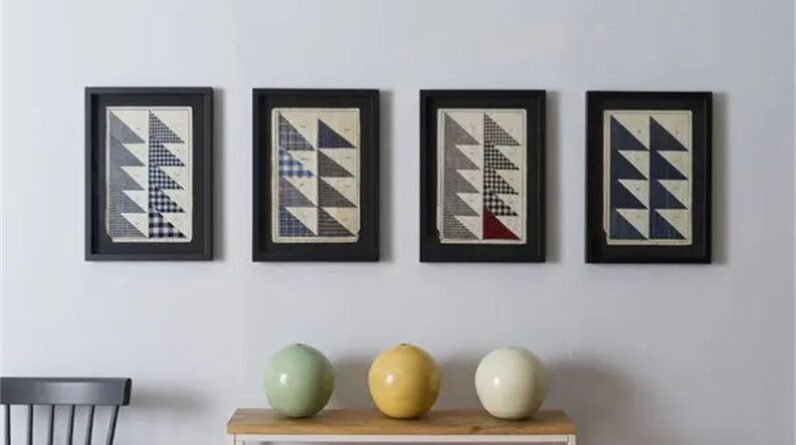
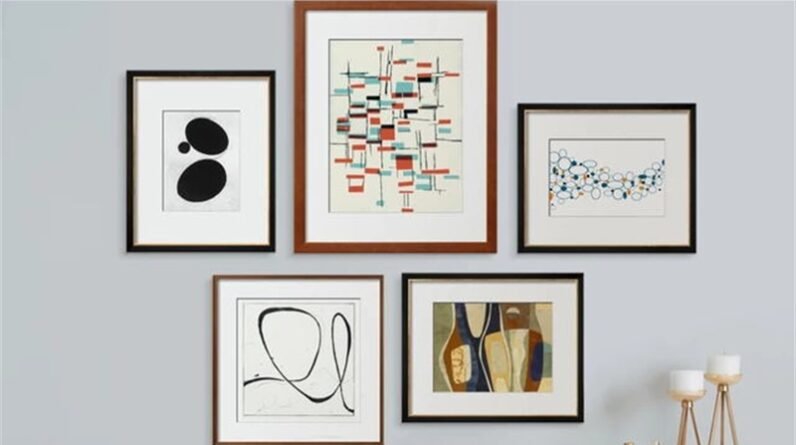
Tips for Displaying Tile Art
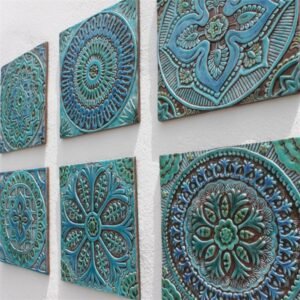
- Consider grouping multiple tile art pieces together for a cohesive display
- Use picture hangers or wire to hang tile art that doesn’t have pre-installed hanging hardware
- Mix and match different tile art styles and sizes to create a unique display
Conclusion
In conclusion,hanging tile art on the wall is a great way to add a unique touch to any home. With the right supplies and a little patience, you can easily make your own tile art and hang it up in no time. Whether you’re looking for an eye-catching focal point or simply want to spruce up an empty wall, creating your own tile art is an affordable, creative project that will bring joy for years to come.